January 2021–Customer Cards Spotlight

December 2020–Alcohol Inks Designer Spotlight
November 2020–Christmas Tags Challenge
January 2021–Customer Cards Spotlight

December 2020–Alcohol Inks Designer Spotlight
November 2020–Christmas Tags Challenge
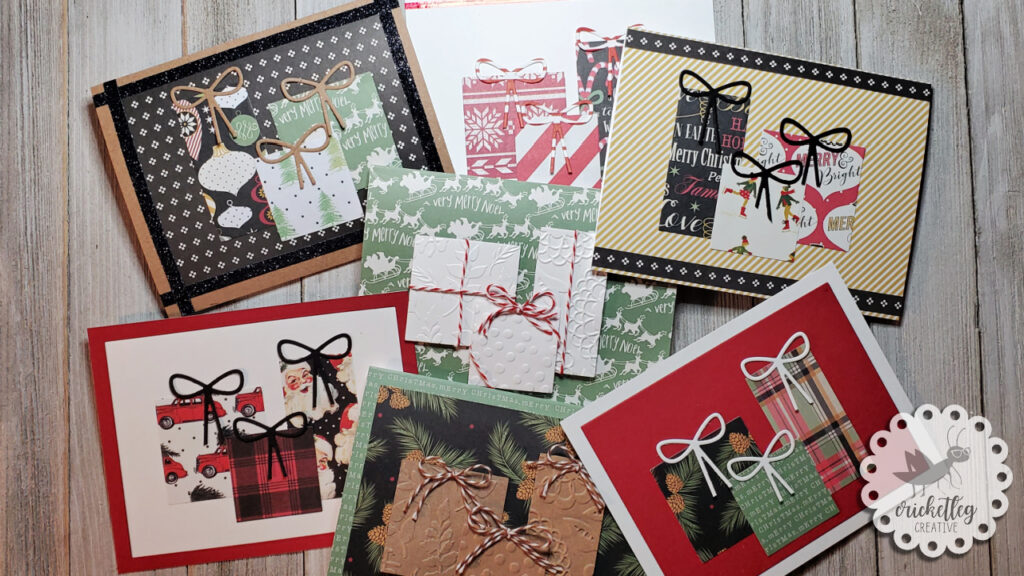
This week’s video shows an easy way to create cute but clean and simple Christmas cards.

Well, hi!
Welcome to this week’s video post. I’m just barely getting this one in under the wire for my normal Wednesday video posts. I’ve been trying to get the voiceover and final edits done but between my alcohol inks adventure, lack of sleep, and a cold that keeps attempting to take me out, I’m only just getting this finished TOday.
But, hey, it’s done and it’s cute.
Have you heard of CAS cards? It just means Clean And Simple. They are usually pretty easy to crank out and are also usually fast. The Christmas cards in this video came together pretty quickly.
Products used in this video? Patterned paper, baker’s twine, embossing folders (on some of them), gift shaped dies (square and rectangle), a bow die (on some of them), and a few embellishments on some like metallic or glitter tape.
CAS cards are a good way to get into cardmaking. They usually don’t require many materials and, like I said, they come together quickly.
I still prefer a more complex design myself because I enjoy the process. But it’s nice to know that if you need a card in a hurry or if you need to make cards en masse, CAS cards can be a good go-to.
Watch the video below to see my clean and simple Christmas cards. And please visit my channel and subscribe. You can click on the little bell there to be notified when I upload new videos (currently on Wednesdays).
I hope you’re having a merry Christmas season so far!
Y’all take care!
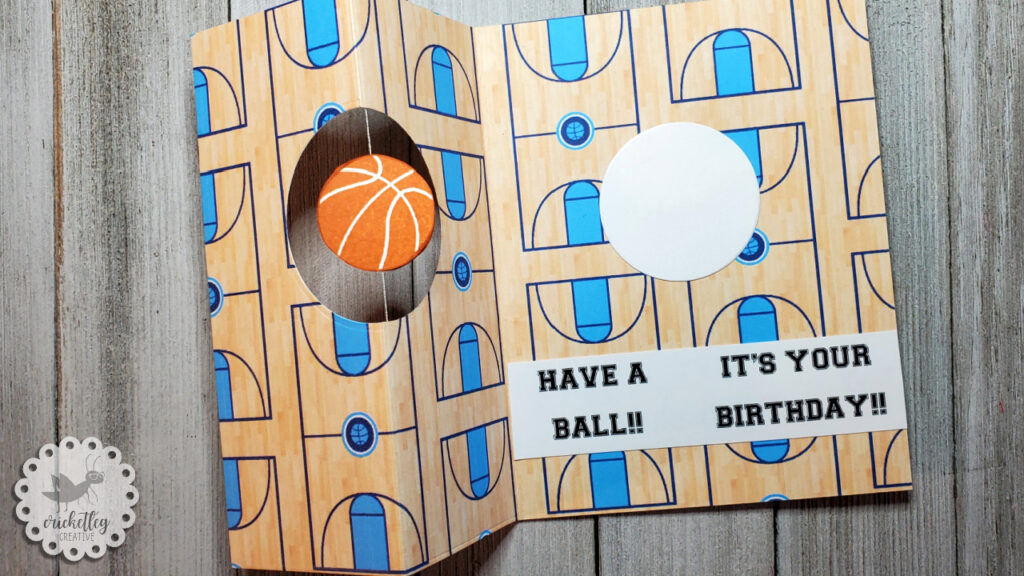
I was surprised and delighted with how quickly this Z-fold Spinner Card came together with Digi (digital) paper!

Well, hi!
Cards for the men in my life have been a bit of a challenge. I know exactly what I want a card to look like, but when I have mostly stamp images that are NOT their style…well…it’s a challenge!
For my dad’s 87th birthday, I wanted to do a sports card. He loves basketball and baseball. Number of sports sets I own: ONE. Number of coordinating stencils/background stamps/papers for sports: ZERO.
I could see exactly what I wanted for my card, but I didn’t have the supplies to complete it. Do you ever have that experience? I remembered that I did have some wood grain digital papers….hey maybe I could mimic the floor of a basketball court.
Nope. They were all distressed wood.
So I head over to Etsy and order this set of basketball themed paper. This particular color set was just about perfect for a Tarheels card! So I unzipped it, placed it in Word, and printed it out on both sides of my cardstock in my printer.
Using digi paper really helped this card come together FAST. I also printed out the sentiment strip from Word, as I wanted a Varsity type font style and wanted to customize it to say “Have a Ball” since my spinner is a ball.
I love how this turned out and I think I will definitely be using digital papers in the future to pull together quick cards! I’ve already been able to experiment a bit with digital stamps, but this is faster!
So check out my Z-Fold Spinner Card with Digi Paper video below to see how it came together. And comment below if you’ve ever made a spinner card. You can check out other interactive cards of mine here and here.
There it is folks…another video post in the books. See you in the next blog post!
Y’all take care!
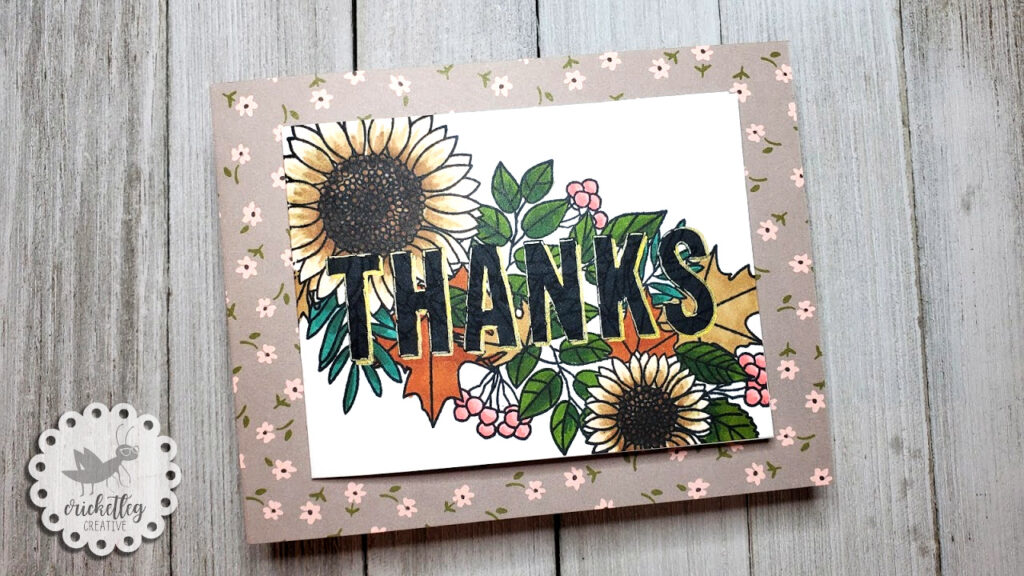
Easy technique to create an interesting card by using stacked cards–a card on a card. This Autumn Thanks Stacked Card was created using stamps from Simon Says Stamp.

Well, hi!
Hey, guess what? I have a new card video and it’s not a Christmas card! I know, right?
The thing I love about this type of card is that you don’t need any special tools to make it. No dies or mechanisms. Heck, you don’t even really have to measure! Just make a smaller card to stick on top.
I really love the large autumn floral stamp. It came in the Simon Says Stamp card kit this month. Currently, I receive monthly kits from Hero Arts and Spellbinders as well. Monthly kits are a fun way to build your collection and also to challenge your creativity! I admit that I sometimes turn up my nose at some kits but then quickly have to repent when I see what amazing things people create!
I’m trying to do shorter video posts on Thursdays (as opposed to my Monday posts) so take a few minutes and check out this video to watch the Autumn Thanks Stacked Card come together.
Also, someone please tell me how you avoid smudging your cards with ink! It seems to be my mistake of choice lately as I have done it here and here.
There you go! And happy fall to you all!
Y’all take care!
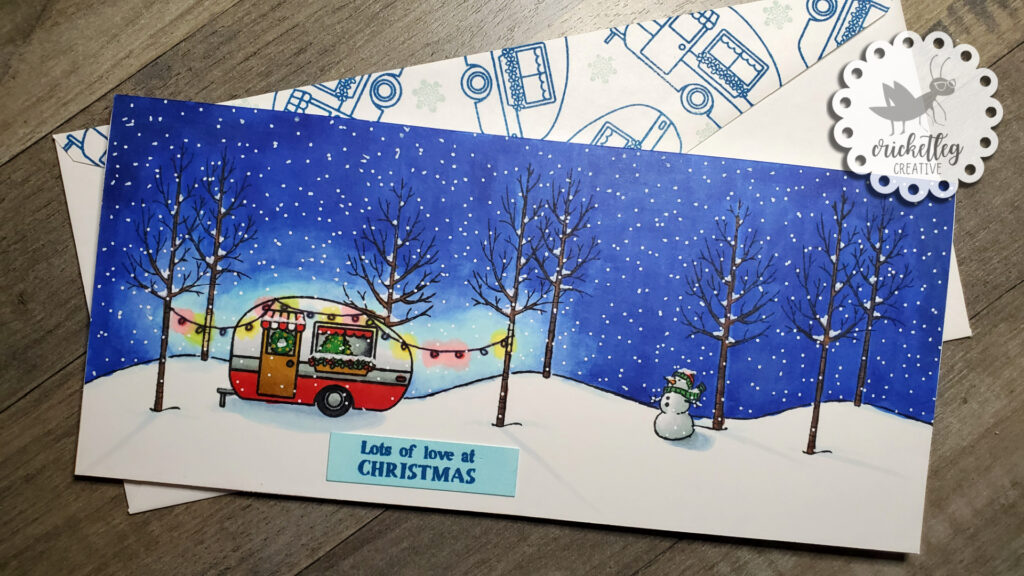
This Winter Camper Slimline Card will make you a happy camper!

Well, hi!
I’ve only recently begun experimenting with slimline cards. If you don’t know what slimline cards are, they are simply cards that will fit into a legal size envelope. That’s the basic shape.
You can make them horizontal/landscape orientation, like the one above. Or you can make a really tall card by orienting it vertically/portrait.
One of the things I love about slimline cards is the freedom it can give you! I have alphabet dies, for example, that I love but I can only fit four letters across a landscape A2 sized card. With a slimline card, I have a lot more word options.
With my Winter Camper Slimline Card, I had the space to make a nice, wide scene. No crowding the images! Had I done an A2 sized card, I likely would have left out the snowman entirely. I really wanted space in this snow scene.
My experiment with making glowing Christmas lights worked out pretty well, I think. They look glow-y to me anyway!
Although I could stand to do more in the way of shadow and light, I’m learning! And the practicing has been really fun. You can see some earlier examples of me working on night skies here and here.
So check out the whole video below! I hope you enjoy it!
Y’all take care!